*Please note parental participation is required for this experiment due to working with scalding liquids.
Can a single science experiment be alliterative, fun and yummy all at the same time? When it comes to making your own rock candy, the answer is absolutely!
Involving words like “solutes,” “solvents,” “sedimentation,” “solutions” and “supersaturated,” talking about making rock candy obviously fits the bill for being alliterative. It also requires the involvement of both adults and children, so making rock candy is a fun activity for all ages.
And since the final product has “candy” in its name, making rock candy is sure to produce a tasty treat at the end of the experiment.
What You’ll Need
To pull off a rock candy experiment for kids, you’ll need to gather a few supplies. Here’s what you’ll need to get together ahead of your experiment:
- Three cups of granulated sugar
- One large glass container
- One smaller glass container
- One pencil
- Wax paper
- One cup of water
- One heavy spoon
- Paper towels
- String (clean, preferably new)
- Food coloring (optional)
Since you’ll need a heat source for your rock candy science experiment to work, it’s wise to set up shop in your kitchen near your stovetop or microwave.
How to Make Rock Candy
Once you’ve gotten the ingredients and tools necessary to make rock candy together, call your kids into the kitchen because it’s time to get started! Here are the steps you and your children should follow to make rock candy successfully:
- Pour three cups of granulated sugar into your glass container.
- Add one cup of water to the sugar and stir. The chemistry already begins at this point of the experiment. Instruct your kids to watch the water as it makes its way through the sugar. Explain that the sugar is a solute, the water is a solvent and that together, they’re forming a solution. You can also talk about how the solution is thick or viscous because there’s significantly more sugar than water in the container.
- Once it’s stirred thoroughly, the solution must be heated until it boils. You can use a microwave or your stove to warm up the solution. Reminder: It’s advisable for an adult to handle this step to prevent any little ones from getting burned.
- When the solution is returned to a heat-safe counter or tabletop, stir it again and let the kids see how heat has changed the mixture.
- Heat the mixture for another two minutes without letting it boil over, and then stir it again. Point out that the solution is now less thick than it was prior to you heating it up.
- If you’re using food coloring, add some to your solution. Be sure the color of the mixture is pretty dark to produce the best end result.
- Pour the solution into the smaller glass container.
- Tie a piece of string to the middle of your pencil and cut the string so that it’s two-thirds the length of your small glass container. It’s important to use clean string, which is why it’s advisable to use new.
- As your child holds the pencil, have him or her lower the string into the solution until the string is soaked through.
- Once the string is fully soaked, lay the pencil and string on wax paper so they make what looks like a cross (i.e. the string should be perpendicular to the pencil).
- Let the solution cool down and let the string dry out.
- When your solution reaches room temperature and your string is completely dry, suspend the string in the solution by laying the pencil over the top of your container so it can work as an anchor.
- Cover the top of your container with some paper towels and put it in a location where it can stay put for about a week.
- Take a look at your solution from time to time and see the crystals that have formed along the sides and bottom of your container and your string.
- At the end of the week, use the pencil to remove the crystal-covered string from the solution.
- Enjoy your rock candy!
The Science Behind Rock Candy
When you heated and stirred your sugar and water solution, you made what’s called a “supersaturated solution,” which had way more solutes than your solvent could dissolve at room temperature. Since you heated the solution, the water was able to dissolve the sugar faster because water molecules move quicker when they’re heated. As your solution cooled, the solutes remained in your mixture even though your supersaturated solution contained more sugar than the liquid could reasonably handle.
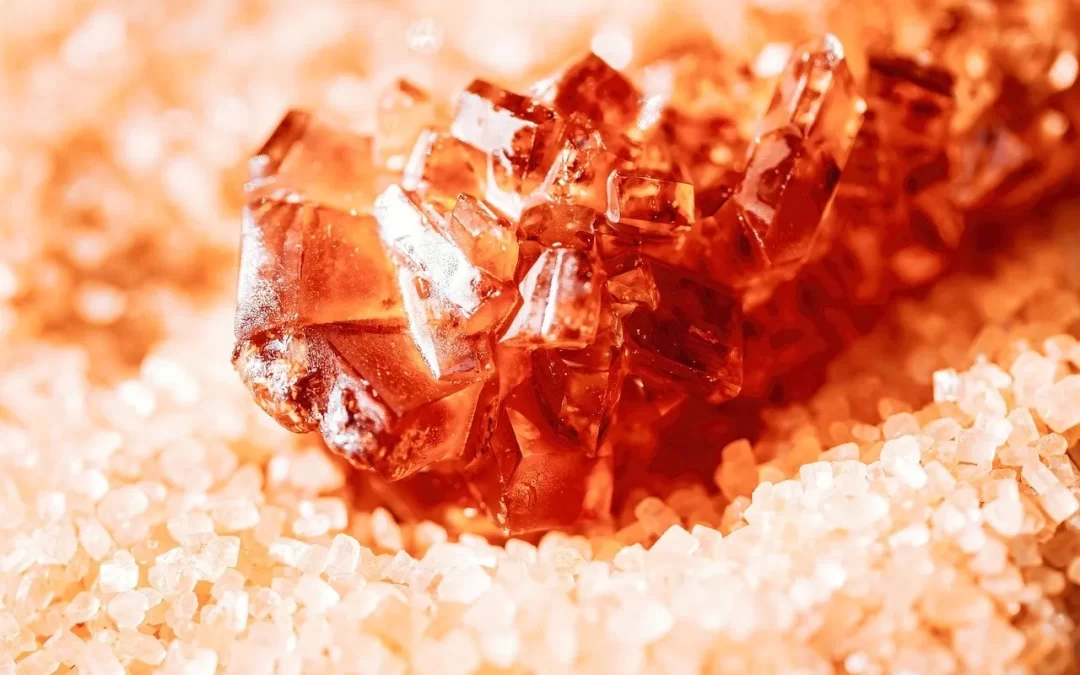
Over time, the sugar solutes fell out of your solution as particles or precipitate. As they did, they connected with other particles to form a crystal, which is your rock candy.
After-School Science Clubs
If your children enjoyed making rock candy, they’ll love the fun experiments we do every day during our after-school science clubs. Our educational clubs are open to children ages 4 – 11 across parts of Pennsylvania , New Jersey , Delaware , Maryland , New York and Virginia.

