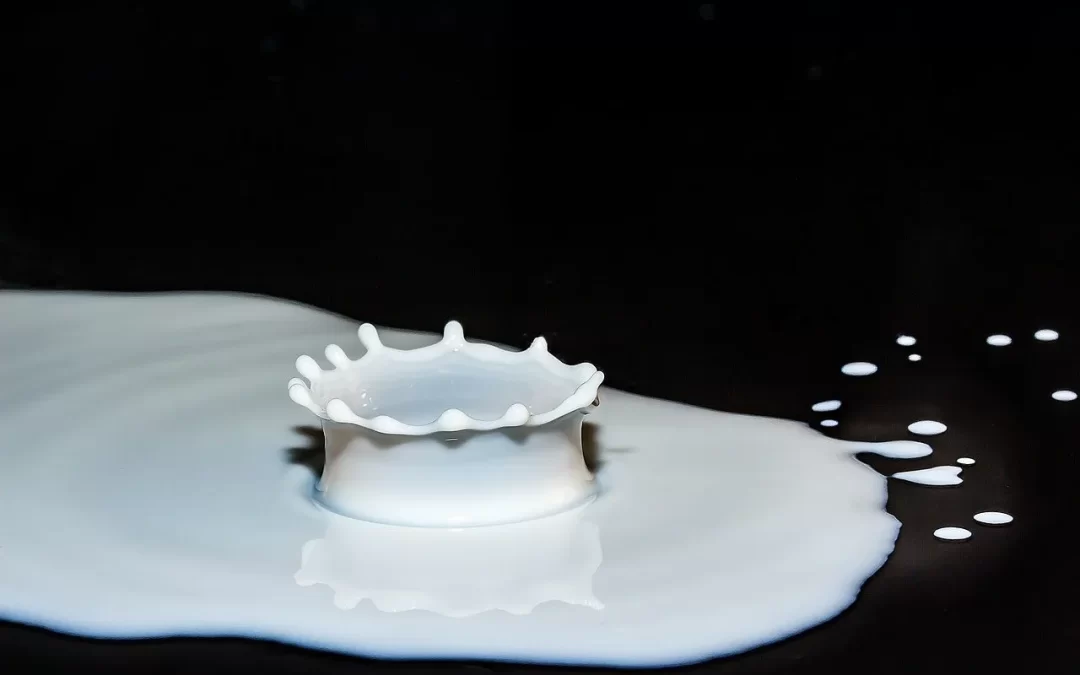
Did you know that your kids can use household ingredients to make a bouncy ball? Or that you can turn milk and vinegar into a fun experiment that incorporates both art and science? It all starts with knowing how to make plastic milk.
Imagine the look on your child’s face when you tell them that they can turn milk into plastic…and that they can add all the food coloring and glitter they want to the final product. That proclamation is grounds for excitement and joy.
In case you’re interested in trying out this inexpensive, DIY plastic milk experiment, we’ve compiled a step by step guide for you to follow. Keep reading to learn more!
Setting up Your Plastic Milk Experiment
You will need the following materials to get your plastic milk experiment started:
- 1 cup of milk
- Four teaspoons of vinegar
- A deep saucepan and stove bu
- A spoon at the ready
- A heat resistant mug to hold hot liquid
- Paper towels
- Glitter, food coloring, cookie cutters
We recommend compiling all ingredients and tools in one place to ensure a smooth experimental process.
How to Make Plastic Milk: Seven Easy Steps
Making plastic milk is much easier than you might think. Just follow the seven simple steps below:
- Add the milk into your saucepan. Heat it on your stove until it starts to steam.
- Pour the milk from the saucepan into your heat resistant mug. Add the four teaspoons of vinegar.
- Stir this mixture with a spoon until it starts to clump up.
- Stack four layers of paper towels on top of each other. Scoop the milk and vinegar curds out of the mug and onto the paper towels.
- Place additional layers of paper towels on top of the forming plastic milk. Press down to extract excess water. Then, add your glitter/color!
- Once you’ve separated most of the moisture from the curd, start kneading the mixture, and vualá! You’ve now made plastic from milk.
- Now, you can get creative. Cut out plastic milk shapes/decorate your creations. When you’re done, leave them to dry for two days.
The Science Behind The Plastic Milk Experiment
This experiment will help your child understand the concepts of acids and bases.
Without getting too technical, you can explain what happens when an acid meets a base. Acids are compounds that want to share their hydrogen ions. Bases are compounds that willingly accept extra hydrogen ions. In this case, vinegar is the acid and milk is the base.
When the two compounds react, the molecules inside the milk begin to change shape as they latch onto the vinegar’s hydrogen ions. The liquid starts to curdle. Once you extract the water from the mixture, you’re left with solid plastic!
You can also explain to your children that milk curds are also essential to certain food products like cheese.
Now That You Know How to Make Plastic Milk, Get Started!
Making plastic milk is the perfect way to introduce your kids to the joy of science from inside the walls of your own home. Introducing your children to science through hands-on experiments that also tie in art is an excellent way to stimulate their minds. The earlier you expose them to new scientific ideas, the easier it will be for them to master basic chemistry concepts at school. By teaching them how to make plastic milk and explaining what’s happening, you’re giving them a head start!
If you think your child might be interested in pursuing more science-related projects and activities, we invite you to learn more about our summer science camps or our our after-school science clubs .