Whether you’re a teacher or a parent, you can easily teach kids how to make a rocket with a bottle with a simple step-by-step process. Start the summer off with a blast with this rocket with a bottle experiment.
Making a Rocket With a Water Bottle
Like any other successful science experiment, gathering the proper supplies and following instructions is very important. You can make this STEM project even more fun for your children by creating a scavenger hunt for the items they’ll need to create their own rocket.
Step 1: Gather the Supplies
The first step to making a rocket with a water bottle is finding the following tools and ingredients:
- A plastic water bottle — either a 16-ounce or 2-liter bottle.
- Tape
- Colored pencils
- A wine cork
- Vinegar
- Baking soda
- Safety goggles — science and safety go hand-in-hand to create fun experiments!
Step 2: Decorate the Rocket Ship
Your little engineers can start their experiment by designing their rocket ship however they desire. Their rocket can include construction paper flames or sparkly stickers.
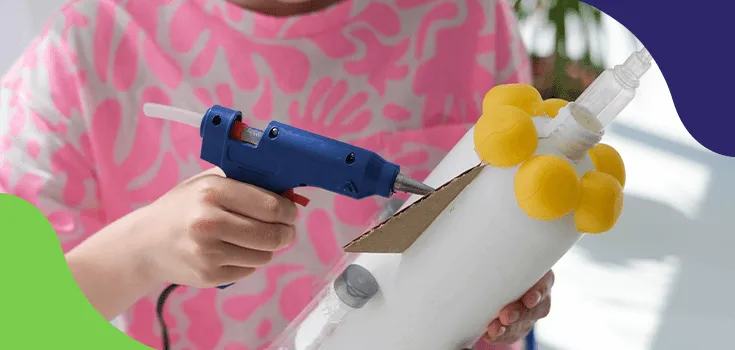
Step 3: Create the Rocket’s Fins and Launchpad
The rockets we see go into space have fins to stabilize the rocket’s body. Using cardboard or cardstock and some markers for decorating, design fins and tape them evenly around the top of the bottle — this will be the bottom of the rocket when it launches.
To create the rocket’s launchpad, start by setting the water bottle on the ground so the bottom is flat against a surface. Tape the colored pencils around the top of the water bottle with the pencil’s points facing toward the ground. Ensure the pencils extend past the cap.
The pencils should reach an equal height when taped to the bottle so they can hold the weight of the rocket’s body. This factor is essential for the rocket’s take-off.
Step 4: Add the Rocket Fuel — AKA Vinegar
For an easy clean-up and wide open space, we suggest moving the whole project outside.
With safety goggles on, the kids can take the cap off of the water bottle. Provide some assistance for your children as they pour vinegar into their plastic bottle until it fills about three-quarters of their rocket.
Step 5: Mix in the Baking Soda
Now we’re ready for the excitement to begin. Make sure to have the wine cork nearby for easy access during this step of the experiment.
You can help your kids pour a tiny bit of baking soda into the water bottle with vinegar. After the baking soda goes into the bottle, quickly plug the cork into the bottle’s opening.
Step 6: Blast Off!
Once the cork is in place, it’s time for the rocket to go sky high!
Flip the bottle upside down so that it rests on the colored pencils and take cover to watch it take flight. Thanks to the chemical reaction of the vinegar and baking soda mixture, you should see the rocket ascend a few feet before making a soft landing.
Step 7: Keep the Fun Going!
The wonderful thing about science experiments is getting to try again and again to observe different outcomes. Encourage your kids to experiment with various vinegar-to-baking soda ratios to record the highest take-off. They can also see if they can accurately predict the landing zone of their water bottle rockets. The fun never ends with this exciting rocket with a bottle experiment.
Create More Memorable Science Experiments at Summer STEM Camp!
Once you teach kids how to make a rocket with a bottle, their passion for science can continue to grow. Whether your child enjoys the wonders of space or the ocean and amazing creatures, our Summer STEM Camps welcome elementary-aged kids of all scientific passions to join us for a week of fun, learning and experiments.
Registration for our Summer STEM Camps is open! Sign your child up today for unforgettable excitement and hands-on learning.