If your children come home from school each day brandishing pretend light sabers or planning their next trip to a galaxy far, far away, congratulations. In addition to having kids with great imaginations, you may have future astronauts in the house.
You can encourage an interest in science or appreciation for art projects by doing this solar system project for kids. The activity is designed to foster creativity and get kids asking questions. This fun undertaking can help your children remember the order of the planets and learn their names. By the end of the solar system activity, your child will learn new things and develop a sense of accomplishment at all they can do on their own.
Materials For Solar System Project
To assemble your own solar system, you will need:
- Nine styrofoam balls of varying sizes
- One pipe cleaner
- Wooden sticks
- Black marker
- Paint and paintbrushes
- Floral foam block
Sizing and Coloring Your Planets
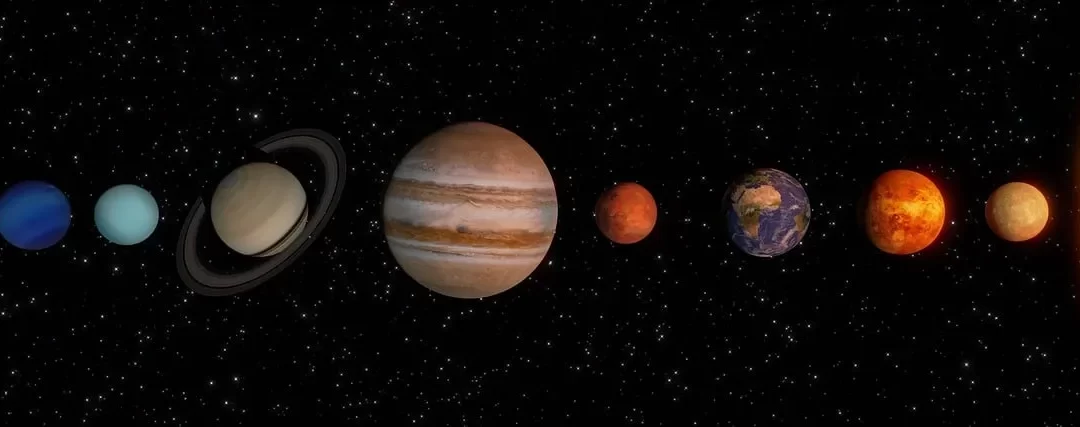
Choosing a size and coloring your planets will be the first steps in creating the solar system. You may have to help your child with this, depending on their age. The sun should be the biggest ball, and your child will color it yellow. We’ve listed the planets from biggest to smallest along with their suggested colors:
- Jupiter : Yellow
- Saturn : Brown
- Uranus : Light blue
- Neptune : Dark blue
- Earth : Blue
- Venus : Purple
- Mars : Red
- Mercury : Gray
For older elementary-aged kids, encourage them to research the colors and sizes themselves, which will help them learn more about the solar system. Getting the paint on the balls can be challenging. The easiest method is to roll the balls on a plate filled with paint, but you can also use a paintbrush to cover the balls in paint. Make it a little easier by affixing the foam ball to a small wooden stick.
Once you have painted each ball and it has dried, you can make small touches on them to make them look like the real planets. Encourage your kids to be creative. Put a few lines of white and green on Earth, for instance, or add a large red dot to Jupiter. You can create a ring for Saturn by wrapping it with a pipe cleaner or making a circle out of cardstock. Use a black marker to write the planet’s name when all the paint has dried.
Solar System Planets In Order
Next, you will arrange the planets in the proper order around the sun. Again, this is something older children can research and figure out themselves. For younger children, you can help them with the order, which goes:
- Mercury
- Venus
- Earth
- Mars
- Jupiter
- Saturn
- Uranus
- Neptune
Your child will arrange the planets going out from the sun. The first thing they will do is put each planet on a wooden stick. Then, starting with the sun, then Mercury and so forth until you reach Uranus, put the other end of the wooden stick into the floral foam block. You will have nine balls altogether.
Things to Ask Your Child After Finishing the Solar System Activity
When you have finished assembling the solar system, take some time to look at the project and talk to your child about it. They can draw a lot of scientific conclusions just by looking at the sun, planet sizes and planet placement. Start a discussion using these questions, and encourage them to find answers to any they can’t answer on their own:
- Based on their location compared to the sun, which planet do you think is the coldest? Which one is the warmest?
- How many planets are there in the solar system?
- What do you think the ring around Saturn is made from?
- What is a moon? Which planet has the most moons?
- Why isn’t Pluto included in the solar system? What is Pluto?
- Which planet takes the longest time to orbit around the sun?
- Which planet takes the shortest time to orbit around the sun?
- Which planet besides Earth is your favorite and why?
Does your child love learning about space and other science concepts? Consider enrolling them in one of our after-school science clubs or a summer science camp . Learn more about our offerings and locations where programs are available by getting in touch .

